Introduction to Work Environment
Run using STFC cloud
We will use STFC cloud environment https://jupyter.stfc.ac.uk. It runs a custom baked docker image of Ubuntu Questing Quokka
Use the username given at registration and following instructions to setup your instance.
Create account and login
Login go to jupyter.stfc.ac.uk!
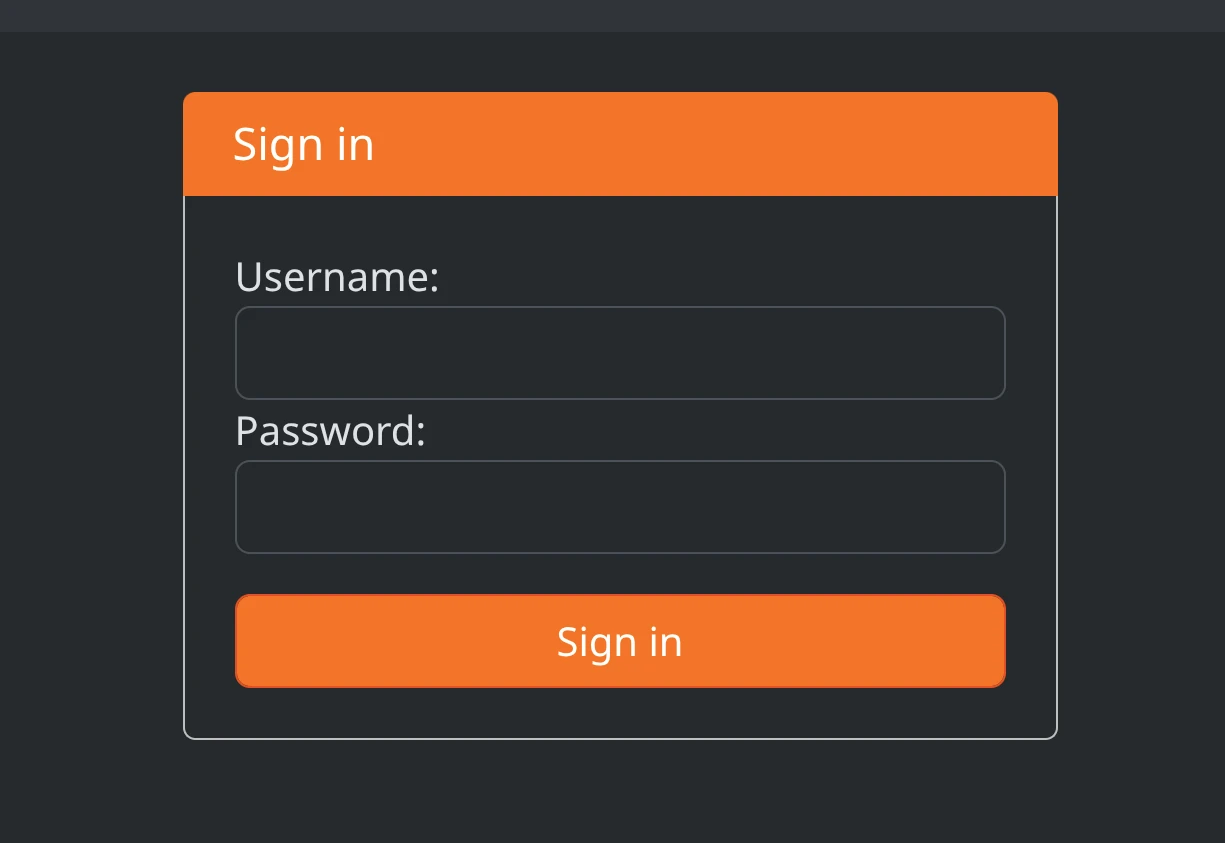
landing page
You shall see something like this,
instance already started. see below.
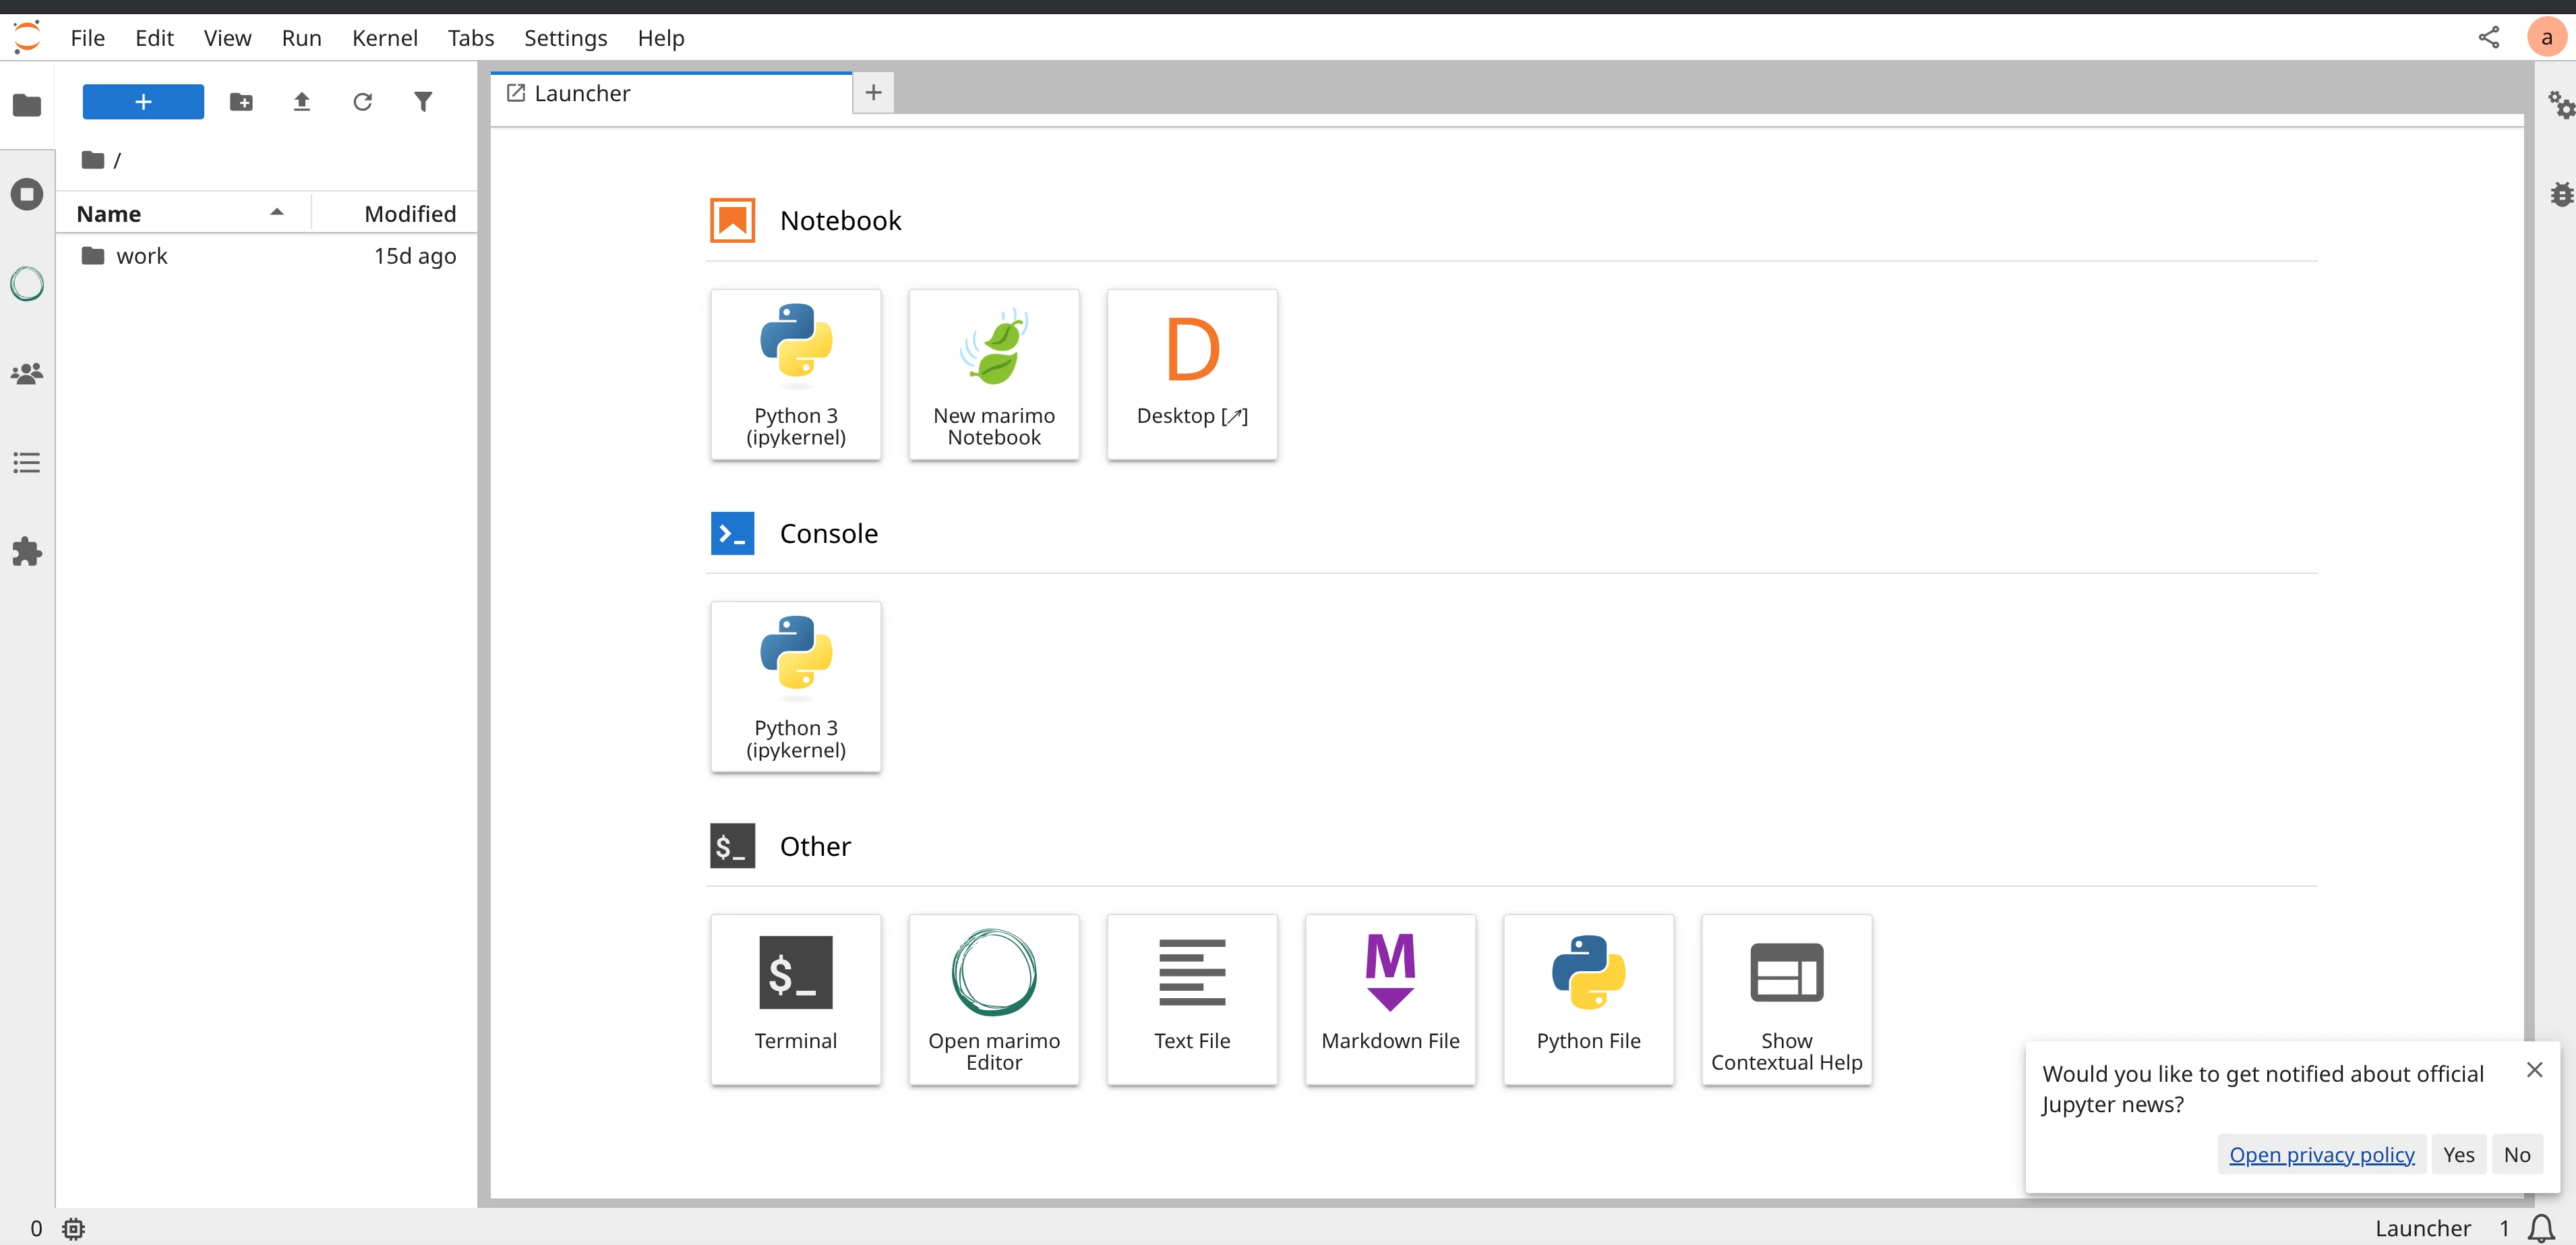
landing page
or
Options to start an instance, go to next step
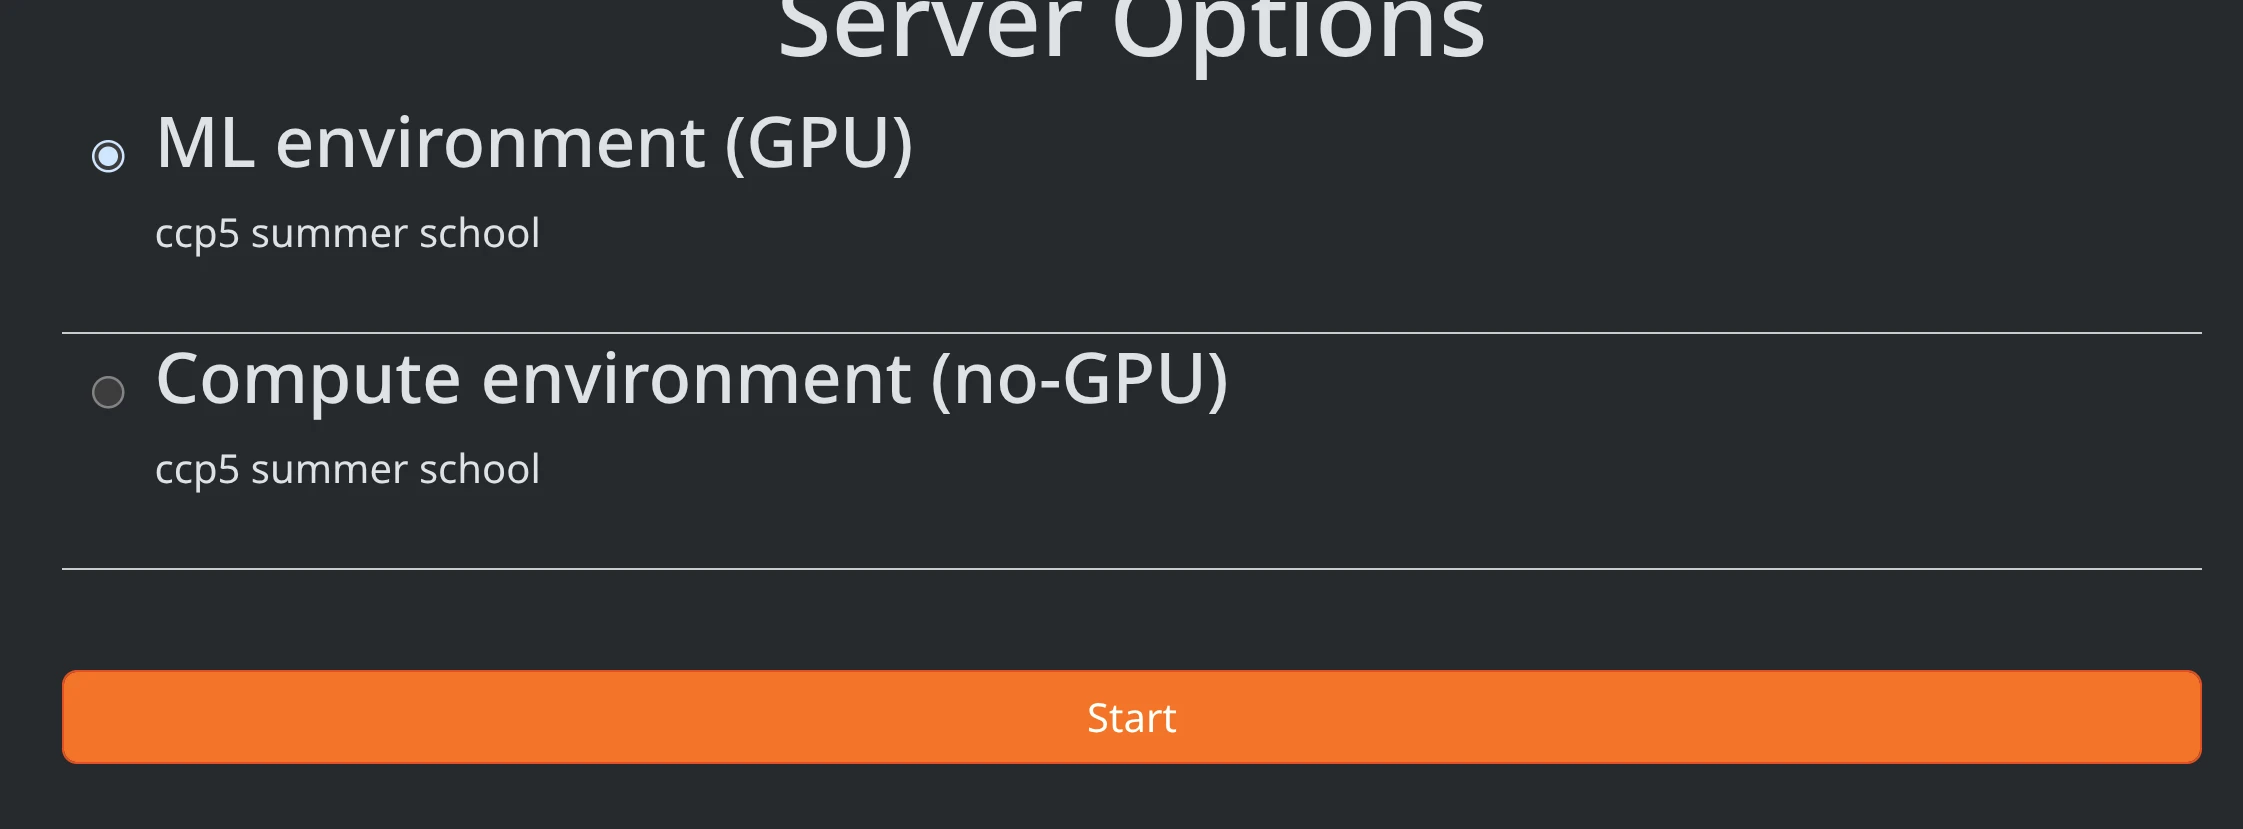
landing page
Create instance
You will see two options.
landing page
if you follow Machine Learning Interatomic potentials as advanced course choose ML Environment (GPU) otherwise Compute Environment (No-GPU)
Once you click start will spawn the new VM machine, shall take 2 min or so but sometimes can be faster or slower, which exists for 24h by default and has a persistent home directory associated with your user.
landing page
Stop instance and update
if things go wrong or you need to create an instance with an updated image you need to follow the following steps.
get the hub settings: File -> Hub Control Panel
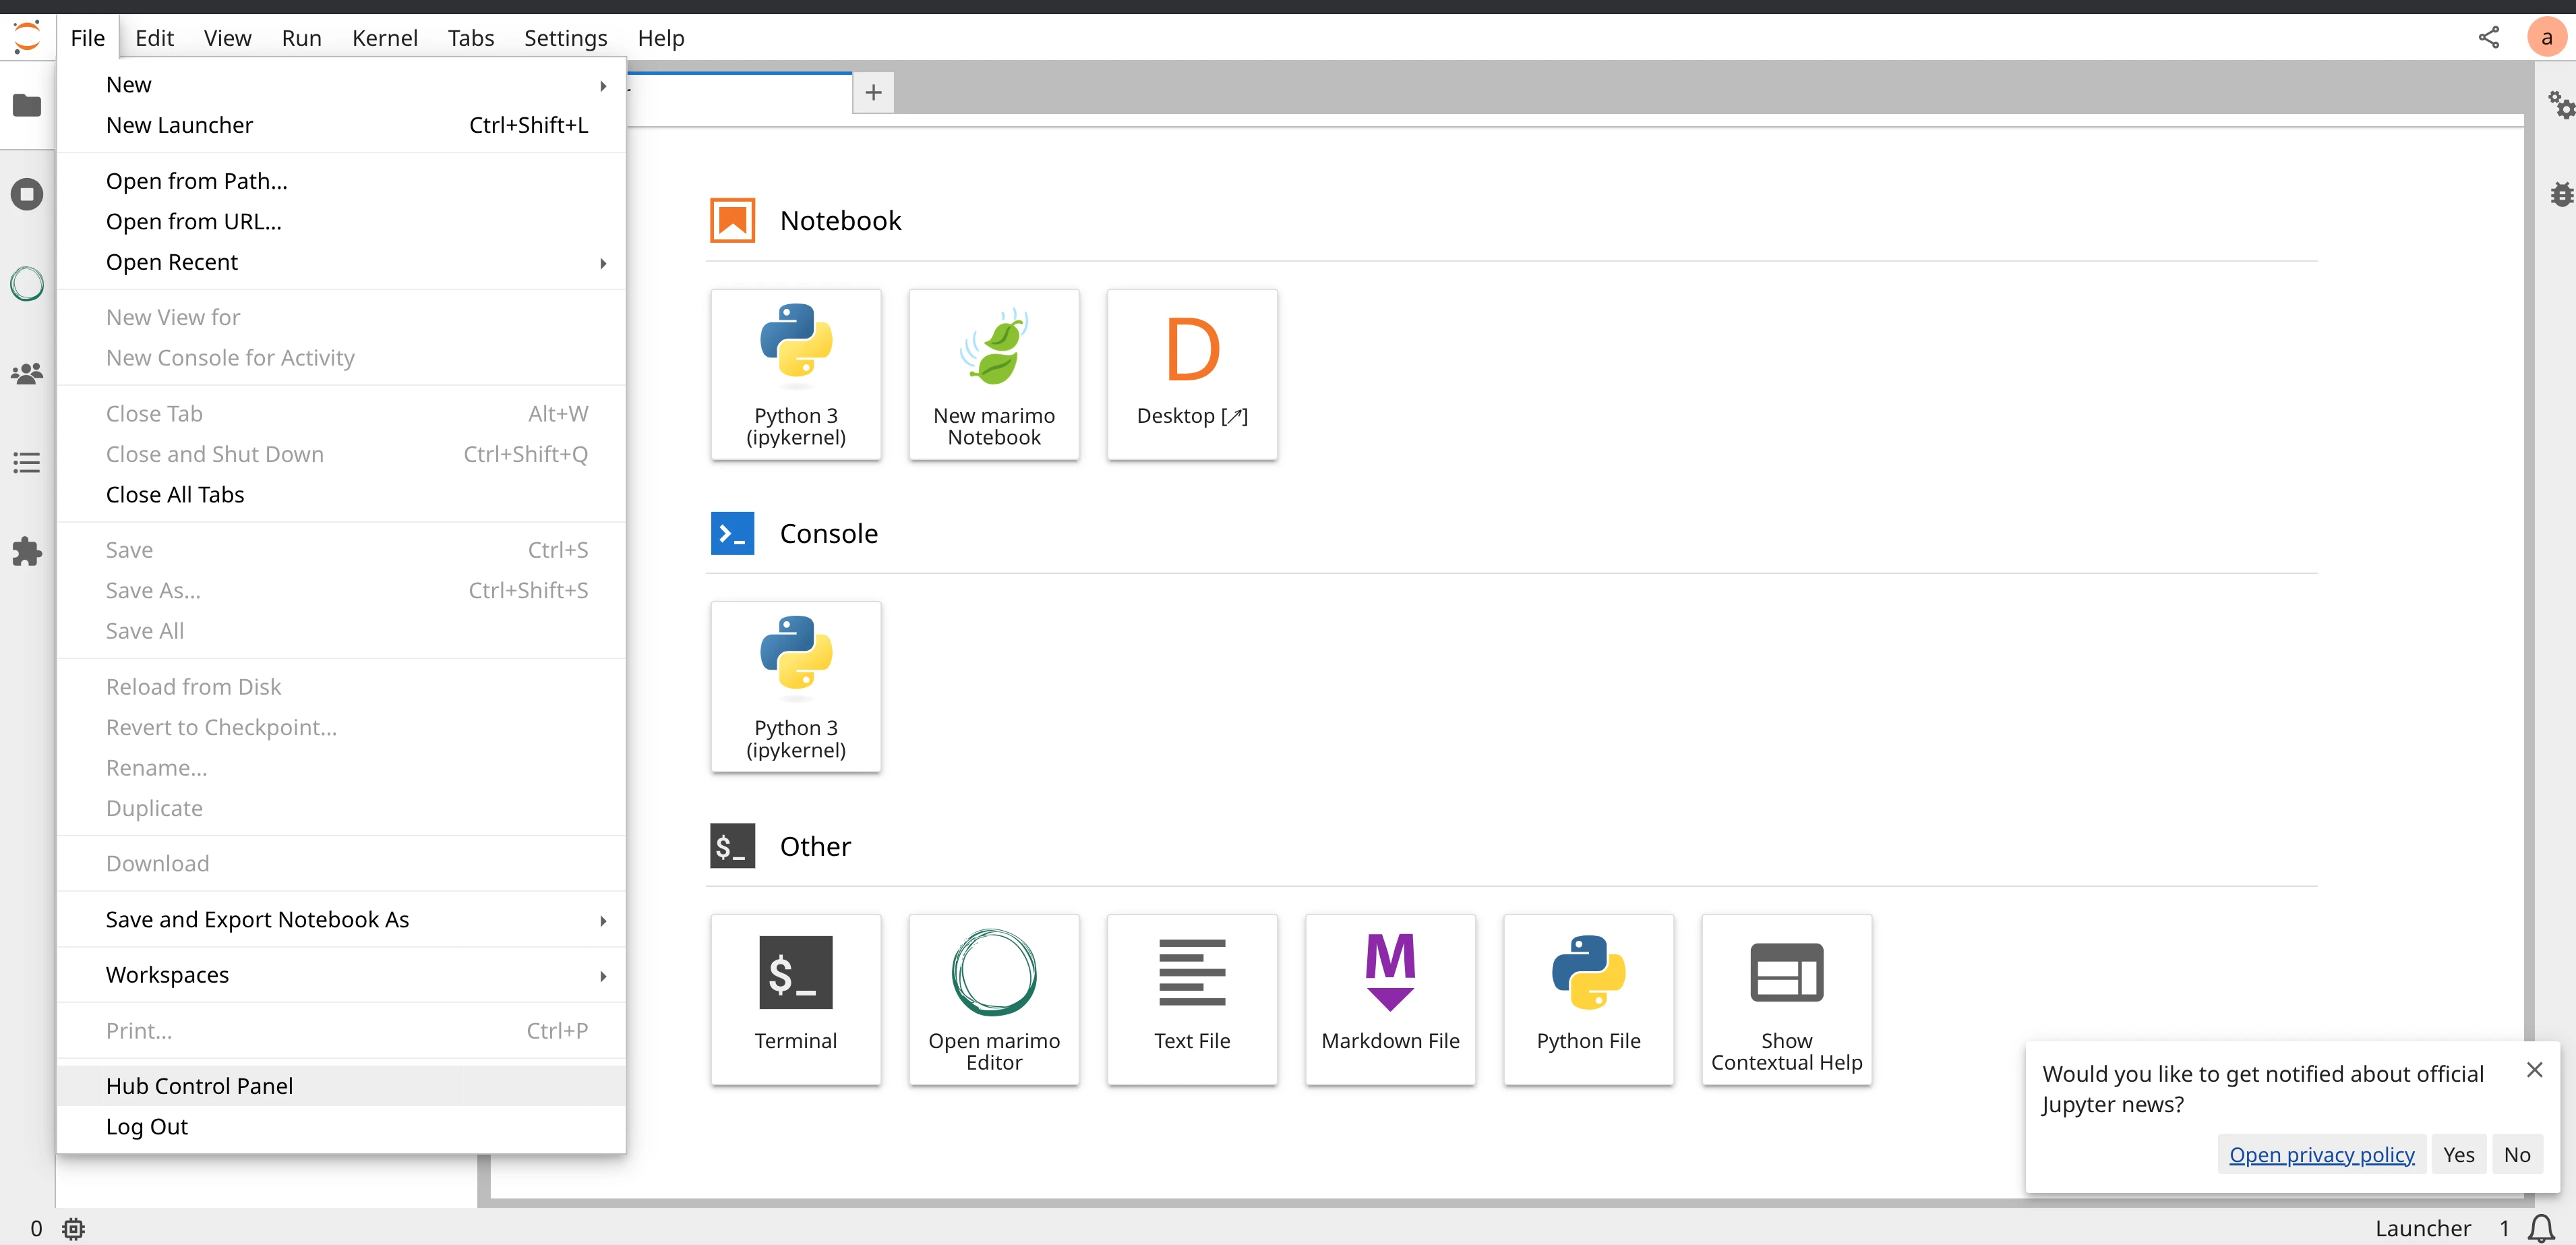
landing page
stop the instance
stop the instance by clicking on the “Stop My Server” button then once stopped you can click Logout.
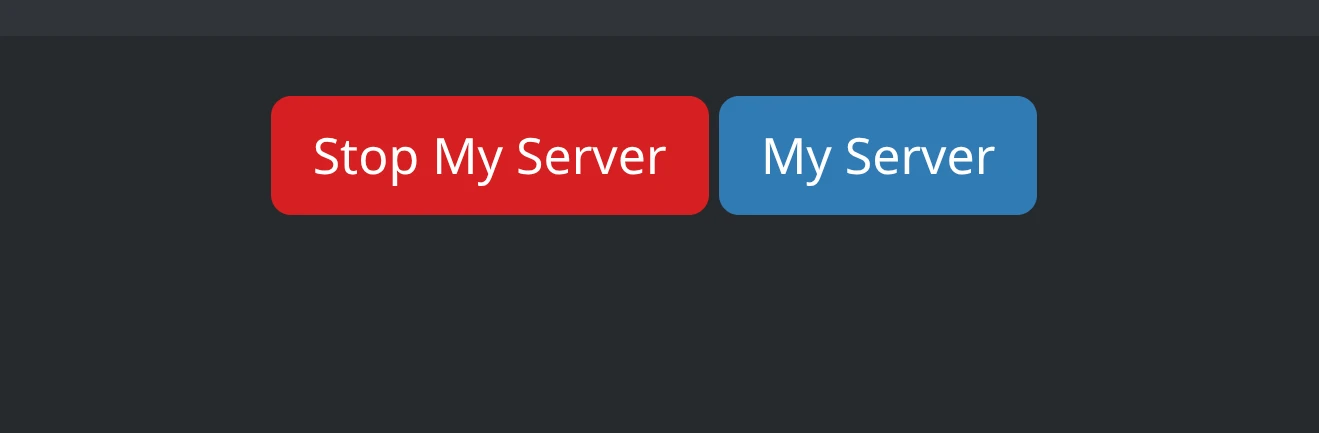
landing page
logout and create a new instance as above. This will use the latest version of the image.
Run using Google Colab
Get a google account if you do not have one.
Navigate to the desired tutorial on [tutorials website](summer.ccp5.ac.uk) and click the
 badge.
be sure you execute the Google colab specific section.
Note: google colab instances are not persistent so you may want to save your work in google drive or download it on your machine.
Run locally
Both Docker and podman shall work. We will use podman in these instructions.
install podman
Follow the instructions for your operating system. Depending on your OS this may be simpler or more difficult we suggest you do this prior to school.
For Linux your package manager probably already has podman.
For Windows and MacOS choose podman CLI* and install. For windows install wsl2 before be sure you set version 2.
For windows and MacOS start the machines by starting a shell, Windows Powershell in windows any terminal in mac.
# only windows and MacOs
podman machine init
podman machine start
create a folder to share with the machine(optional)
this folder can be sure to get data from the jupyterhub on your local harddrive after you shut it down. Be careful that is not writable to a normal user on your machine, only root on Linux.
mkdir work
# next command is only on linux
podman unshare chown 1001:100 work
start the container
Execute the command in a terminal.
note if you choose not to have a folder in the previous step remove -v ./work:/home/jovyan/work:Z below
podman run --rm --security-opt seccomp=unconfined -p 8888:8888 -v ./work:/home/jovyan/work:Z harbor.stfc.ac.uk/ccp5/summer2026:latest
if you see this error, especially on MAC OSX
Trying to pull ghcr.io/ccp5uk/summer2026:latest...
Error: internal error: unable to copy from source docker://harbor.stfc.ac.uk/ccp5/summer2026:latest: choosing an image from manifest list docker://harbor.stfc.ac.uk/ccp5/summer2026:latest: no image found in image index for architecture "arm64", variant "v8", OS “linux"
podman run --rm --security-opt seccomp=unconfined -p 8888:8888 --platform linux/amd64 -v ./work:/home/jovyan/work:Z harbor.stfc.ac.uk/ccp5/summer2026:latest
get into the container
At this stage you should have a running jupyter hub, all you need is to start it in your browser. You shall see various debug lines in your terminal, localte Or copy and paste one of these URLs: part and click on one of them.
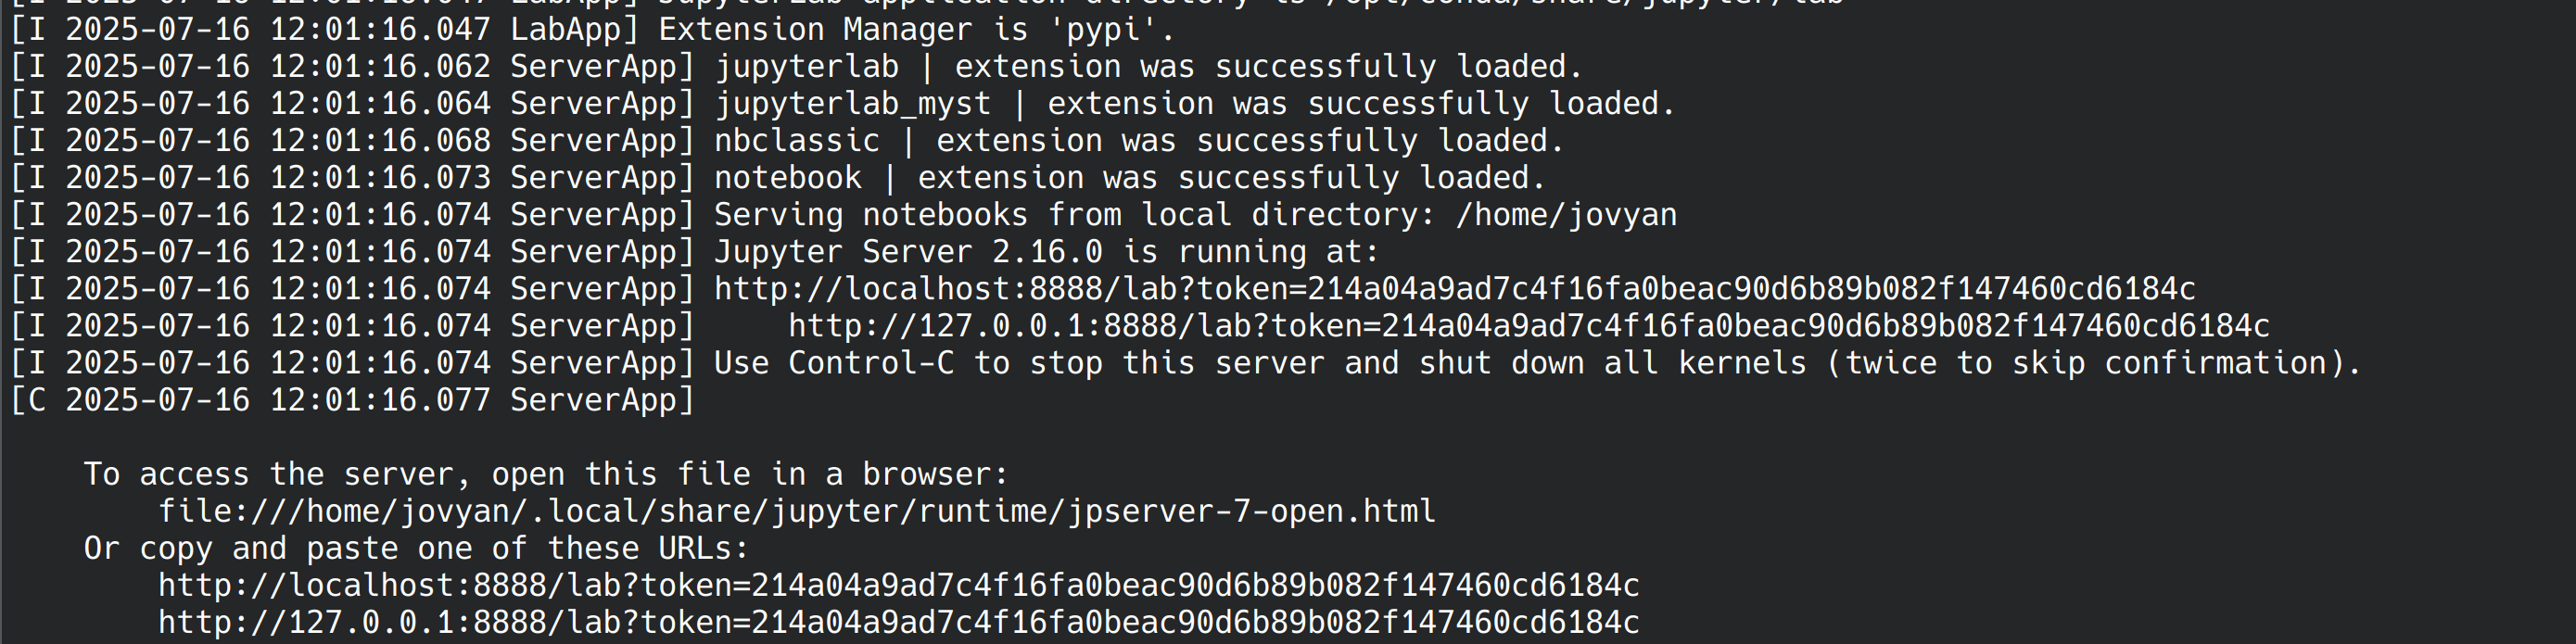
start container
if all is ok you shall see
started container
click on Desktop tile to get access to a traditional environment
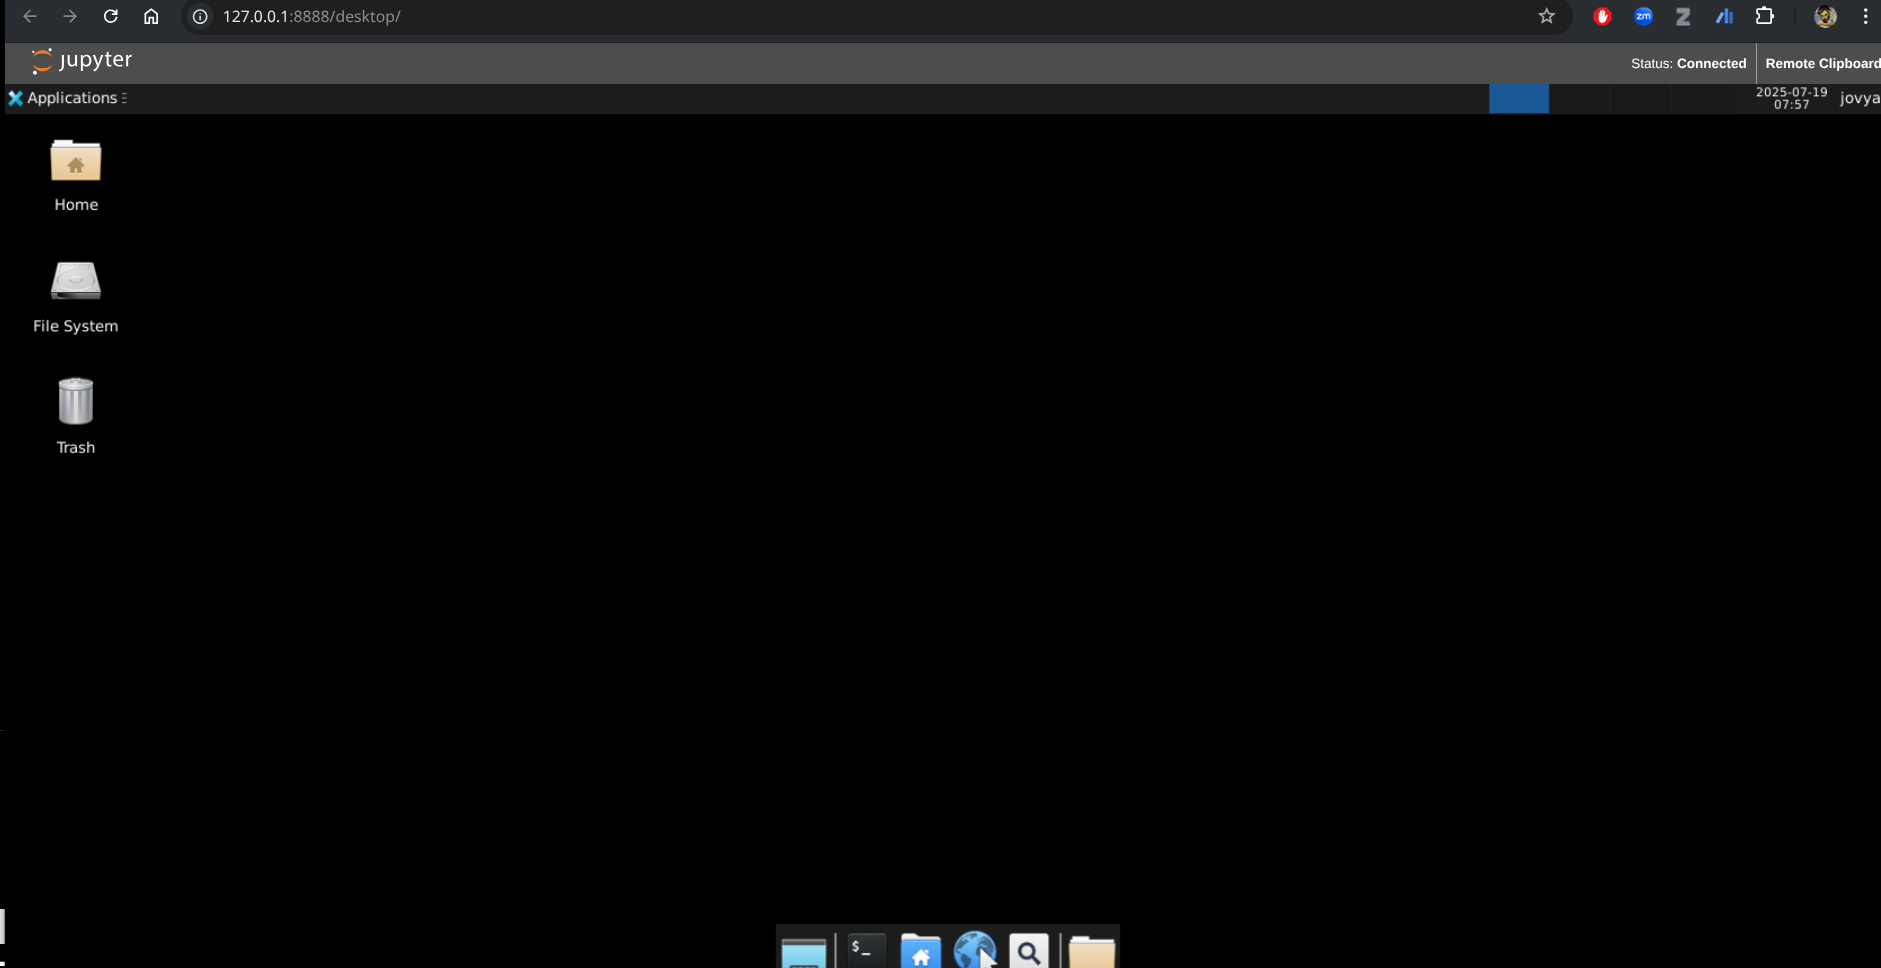
desktop inside container
close the container
Ctrl+C in terminal will do it.
keep the image up to date
podman pull harbor.stfc.ac.uk/ccp5/summer2026:latest
Note you can change the theme by going to Settings->Theme->
Obtain exercises
open a terminal, clik on the Terminal tile.
cd
# or if you setup the work folder above, uncommend bellow
#cd work
git clone https://github.com/ccp5uk/summerschool.git WORKSHOP
a WORKSHOP folder will appear on the left hand side and now you can navigate inside it and find the relevant notebook of the day.
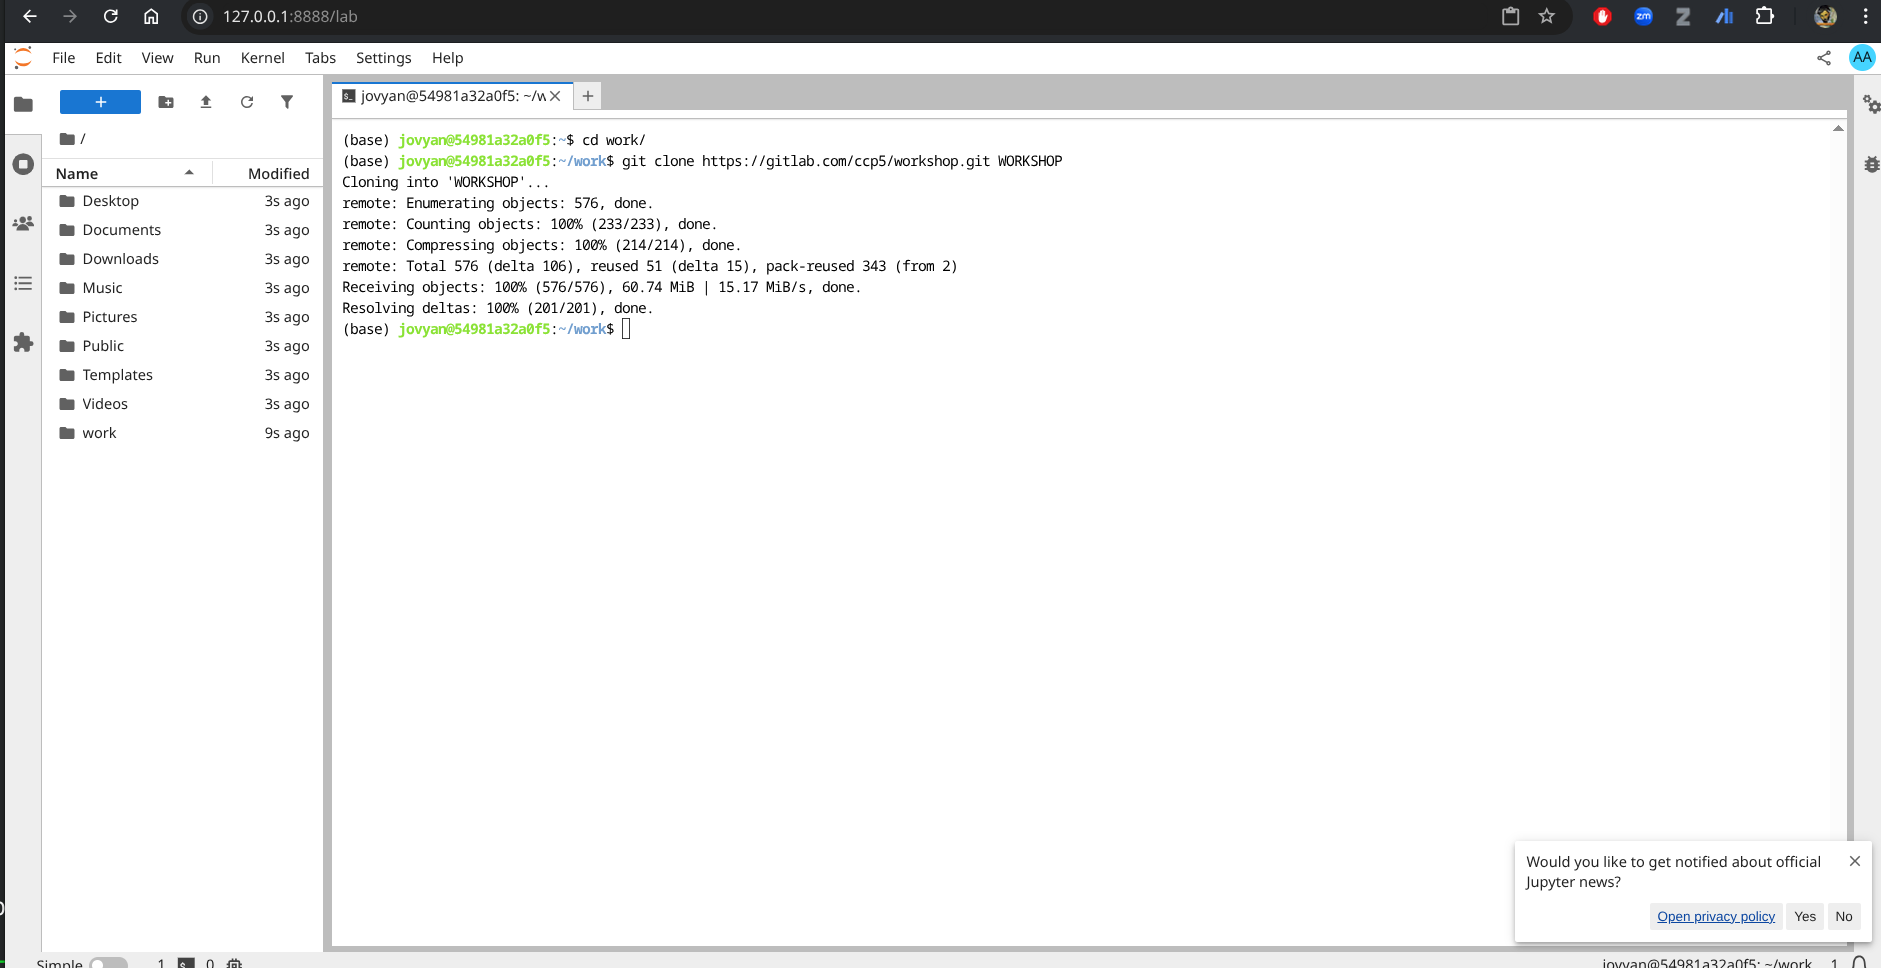
checkout WORKSHOP
this folder also contains an environment.yml which will list all packages used if you want to replicate the environment.
Browsers
Mozilla Firefox is installed on the machine.
Compilers
The GNU toolchain is used throughout the summer school and are available at the unix prompt.
gcc: the C/C++ compiler
gfortran: the fortran compiler (it assumes f77 and f95 for
*.f and*.f90 respecively). Some of the codes may be in fixed format requiring the compiler flag -ffixed-form.python3 is available on the machine, use python3, be aware that python will give you python2.
Plotting Packages
Two graphics packages are available for plotting graphs: gnuplot and xmgrace. You can also use matplotlib from python.
VMD and ovito are the basic viewer for use in the summer school. Jmol and Avogadro are also available. In order to use Jmol type jmol.sh on the command line.
DL_Visualizer is another graphical package that helps you visualising complex data usually coming from abinitio simulations. You will need this if you take the advanced option on first principles simulations.
Other
octave and paraview are also available
Editors
There are several editors available. You should choose whichever you are confortable with.
vi the venerable UNIX screen mode editor.
vim the improved venerable UNIX screen mode editor.
emacs probably the commonest full-screen UNIX editor.
gedit gui editor
Terminals
When one refers to terminal, console or command line, usually means a shell window. Gnome Terminal, xterm and uxterm are available, You can click on the terminal icon to get one in the desktop or in the jupyter hub.